How to Fix macOS Updates Not Showing in System Settings - Your Mac is up to Date
This guide describes how to fix macOS updates not showing in System Settings. By following this guide, you'll be able to update your macOS version to the latest available version. The guide works for both, Intel and AMD systems using Clover and OpenCore bootloader.Overview
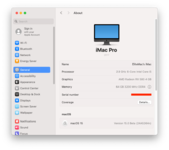
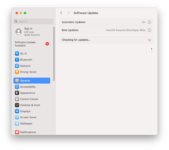
If you have macOS installed and no update is available under System Preferences, when Apple releases/push an update for the OS, then you're at right place and this guide is for you. Unlike other Operating Systems, macOS also offers OTA updates which aims to fix bugs and improve security. The macOS updates can be checked using System Settings>General>Software Update. Despite checking several times, the only message you get is Your Mac is up to date. However, if you're not getting the OTA updates, there could be a few reason for it. One of them could be likely possible that you're using an unsupported SMBIOS for which Apple does not allow any update further.As you can see, the current machine has iMacPro1,1 SMBIOS configured and the updates are supported till macOS Sequoia. However, when checking the updates, no updates are shown:
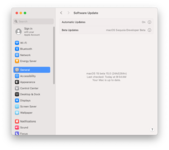
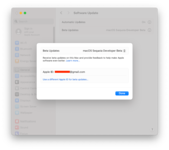
As its macOS Sequoia, the system also has Apple ID signed in for the beta updates. But still the updates does not appear in the System Preferences.
Enabling macOS Updates
Currently, there are two ways to resolve this issue. The affect is same using both the methods and is just a matter of two different ways. Both the methods are described below. Choose one as per your preference.STEP 1: Download RestrictEvents
STEP 2: Mount your ESP.
STEP 3: Depending on your bootloader,
For Clover:
1. If you're using Clover, copy
RestrictEvents.kext to the EFI/Clover/Kext/Others directory.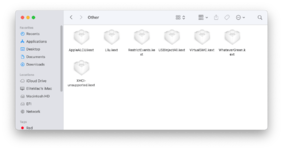
2. Open your config.plist and add
revpatch=sbvmm in the Boot>Arguments section of your config.plist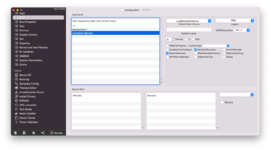
3. Save config.plist
For OpenCore:
1. If you're using OpenCore, copy
RestrictEvents.kext to EFI/OC/Kexts directory.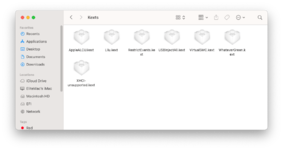
2. Open your config.plist and add the
RestrictEvents.kext entry for the same in the Kernel>Add section of your config.plist.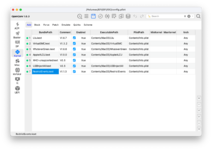
3. Assuming the config.plist is still open, add
revpatch=sbvmm to the boot-args key under the 7C436110-AB2A-4BBB-A880-FE41995C9F82 UUID list in the NVRAM section of your config.plist.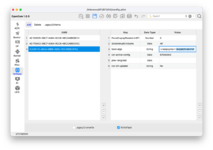
You can also use NVRAM Variable and achieve the same effect. Simply add the following entry under the 4D1FDA02-38C7-4A6A-9CC6-4BCCA8B30102 UUID list in the NVRAM section of your config.plist.
- Key* = revpatch
- Value = sbvmm
- Type = string
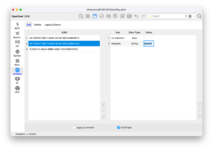
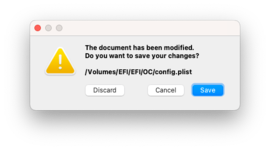
4. Save config.plist
STEP 4: Restart your system for the applied changes to take effect. It is recommended to reset NVRAM twice at least.
STEP 5: After restarting the system, check for updates using System Preferences>General>Software Update and an update should pop up, if available
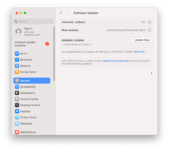
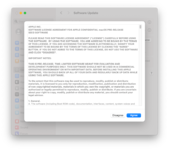
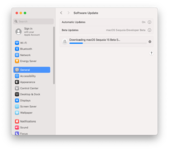
STEP 6: Click on Update Now and accept the license terms and the update should begin to download:
NOTES:
4D1FDA02-38C7-4A6A-9CC6-4BCCA8B30102:revpatchNVRAM variables work the same as the boot arguments, but have lower priority.- When using RestrictEvents.kext with the
revpatch=sbvmm(either via bootarg or the NVRAM), the CPU Name may change to the default, based on SMBIOS. See Fixing CPU Name for more information. - Clover users are advised to use Method #1.
- Ensure that you are signed in into Apple ID for beta updates.
- Ensure that you are using a compatible SMBIOS for the particular macOS version you are trying to update. See Setting Up Correct SMBIOS for more information.
Last edited:
