How to Mount EFI Partition on macOS Sequoia and Later
This guide describes How to Mount EFI Partition on macOS Sequoia on Later. By following this guide, you will be able to mount the EFI Partition on macOS Sequoia and Later.EDIT: The issue is no longer present on the updated macOS Sequoia and as a result, this guide has been depreciated now and should no longer be required. However, this guide will still be here for archival purposes.
Overview
Recently, Apple announced macOS Sequoia Developer Beta 5 and since the release of Beta 5 (24A5309e), there's a known problem with mounting the EFI Partition. Normally, as you would mount the EFI Partition on macOS using several tools or tool free method such as Terminal as described in this guide, it was easy peasy. Currently, no other tools like OpenCore Configurator or OCAT is able to mount the EFI partition on macOS Sequoia Developer Beta 5. We're not sure whether this is a new bug in the developer release or some kind of limitation introduced by Apple and if its intentional to prevent access to ESP for security purposes. As a result, now mounting the EFI partition involves a few extra steps. The process is similar to Linux distributions.The problem is not only with the internal disks but external disks as well. However, for external disks such as USB Flash Drives, you can mount the EFI Partition normally using any of the tools as described in this guide and can directly edit the config.plist but you won't be able to change any contents of the EFI Partition for the external disks too.
Mounting EFI Partition
To mount the EFI Partition, follow the steps below:STEP 1: Open Terminal from Applications>Utilities folder.
STEP 2: Execute the following command:
Bash:
diskutil list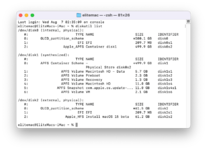
STEP 3: Find the EFI partition and note down the disk identifier which you want to mount. A very quick way to determine the disk identifier is by finding the
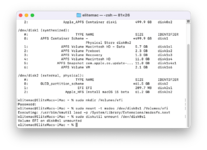
EFI TYPE. Generally, you will see EFI EFI and look for the correct volume name. In our case, we have a single boot disk and a macOS Installer. Therefore two EFI partition exists on the entire machine. On the boot disk, the EFI partition is disk0s1 and another EFI partition on the USB Flash Drive is disk2s1. disk0s1 is what we're going to mount in this guide. Your's could be different from ours. Once you locate the EFI Type, just check for the identifier.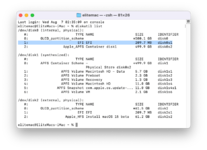
STEP 4: Ensure all programs are closed and you have not mounted the EFI partition using any tool. If already mounted, unmount the EFI Partition using the same tool.
STEP 5: Create a mount point using
Bash:
sudo mkdir /Volumes/efi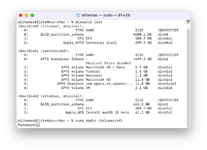
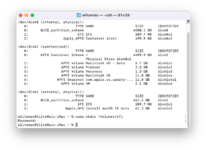
STEP 6: Mount the EFI Partition using the syntax:
Bash:
sudo mount -t msdos /dev/diskXsY /Volumes/efiWhere,
X is the disk number and Y is the partition number respectively.In our case, it would be
disk0s1. Once the disk is mounted, you'll see something like the screenshot attached below (right most).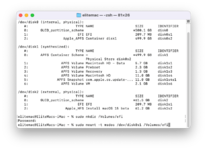
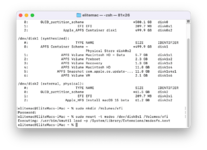
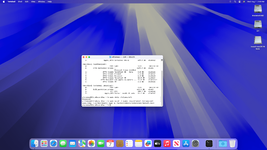
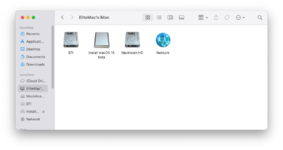
The EFI Partition can be now directly accessed either from the Desktop or from the Finder as usual.
STEP 9: To unmount the EFI Partition, use the following command:
Bash:
sudo diskutil unmount /dev/disk0s1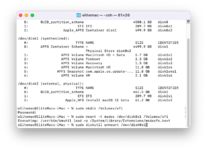
You can also right-click on the EFI partition and click on Eject to unmount the EFI partition.
STEP 10: Quit Terminal.
NOTE: Everytime you need to mount the EFI Partition, you'll require to create a mount point first.
CREDITS:
@Max.1974
Last edited:
