How to Clean Install macOS Sonoma on your Mac
The following is a guide for installing macOS Sonoma on your Mac. You can use this guide for a clean install of macOS Sonoma on your compatible Mac.
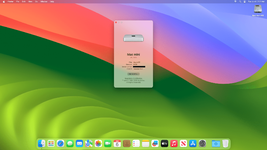
Clean install macOS Sonoma using Bootable USB Drive
Overview
Today, Apple announced their new macOS lineup i.e macOS Sonoma 14.0 which is Apple's newest and most awaited OS. Monterey added massive updates and improvements from its predecessor, Big Sur.
Packed with new features and functionality, the most noticeable update that can be seen and experienced is the new GUI. Featuring a much more "iOS" look and feel and is as smooth as butter.
Requirements
Before you start with this guide, here's are a few requirements
To start with the guide, you'll also need to have access to a fully functional computer running macOS Mojave or later. This requirement is must as you need to access to Mac App Store in order to download a copy of macOS and create an installation USB Flash Drive later on.
Compatibility
Before you proceed with a clean installation, we suggest you to check the compatibility of the Mac model.

 elitemacx86.com
Installing macOS Sonoma on Mac
Now, you can start downloading files, creating a bootable USB, and doing a clean install. Follow the steps below to install macOS Ventura on your Mac.
STEP 1: Download macOS Sonoma and Create a Bootable USB
To download macOS Sonoma and create a Bootable USB, refer to the guide linked below.

 elitemacx86.com
STEP 2: Booting the macOS Installer
After preparing your installation USB, you're ready to install it on your target Mac
1. Start/Restart your Mac and while starting/restarting, hold down the option (⌥) key or Alt Key (if you're using a non-Apple Keyboard) on your Keyboard. If you're using an Apple Silicon Mac, press and hold the Power button on your Mac until the startup option appears. You'll see something like this below.
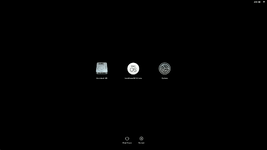
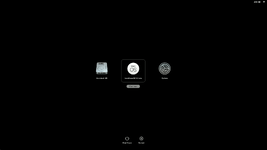
2. Select Install macOS 14 beta and click on Continue or you can press enter to boot and the installer will load in a while.

STEP 3: Installing macOS
When booted from the USB, you'll see something like below
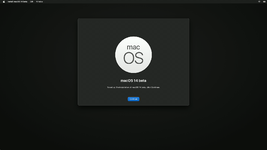
Do not continue yet as we're performing a clean install, it would be best to erase the target disk on which you're going to install macOS Sonoma.
Quit Install macOS.
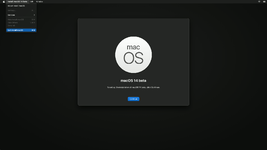
When the installer prompts, click on Quit and the installer will go back to Recovery Menu.
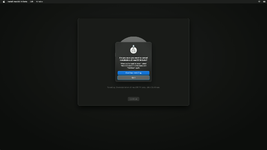
When at the Recovery Menu, select Disk Utility and click on Continue.
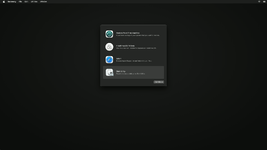
3. When at Disk Utility, Click on View, and then select Show all Devices.
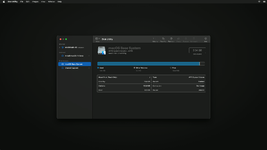
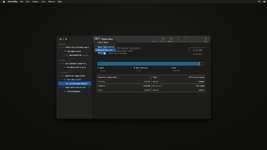
4. Now select your Hard Drive or SSD on which you want to install macOS and use the following parameters to erase your drive.
Name: Macintosh HD
Format: APFS
Scheme: GUID Partition Map
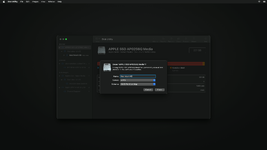
4. Once the parameter is set, click on Erase button and you should see a prompt to erase your Mac.
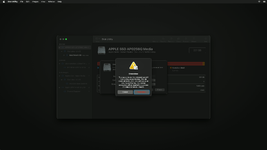
Click on Erase Mac to continue erasing your Mac. When prompted, click on Erase Mac and Restart.
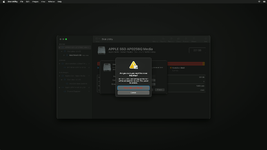
Your Mac will restart and boot back to Recovery to complete the Activation.
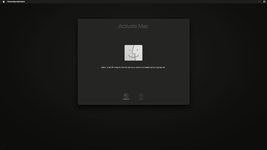
From the top right menu, click on the WiFi icon and connect to your WiFi Network. If you're having an Ethernet Connection, you can use it too. We're using WiFi as it's more convenient. When prompted, enter your network password and click on Join to connect to your WiFi Network.
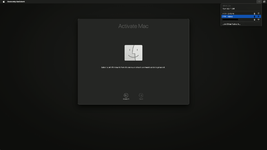
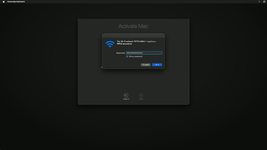
Once the network is detected, your Mac will start the Activation.
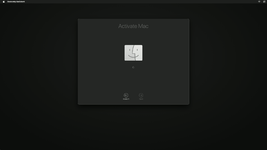
Once activated, you'll see something like below.
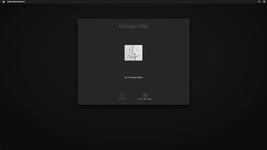
From the Apple Menu>Click on Shut Down
Start/Restart your Mac and while starting/restarting, hold down the option (⌥) key or Alt Key (if you're using a non-Apple Keyboard) on your Keyboard. If you're using an Apple Silicon Mac, press and hold the Power button on your Mac until the startup option appears. You'll see something like this below. You'll notice that the Disk name no longer appears now as it's erased.
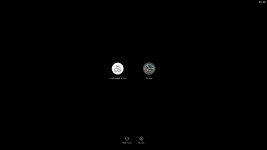
Select Install macOS 14 beta and click Continue. Alternatively, press enter to boot and the installer will load in a while.
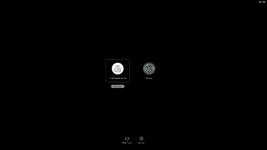

1. When at the installation screen, select your preferred language and continue
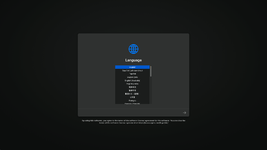
The installation screen will appear automatically. Click on Continue and then continue with the options.

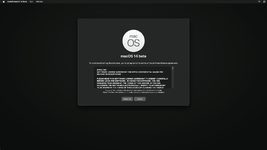
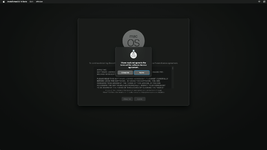
7. Now select Macintosh HD and click on Continue.
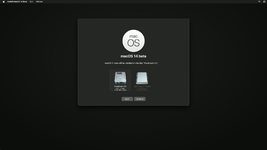
Now, macOS Sonoma will begin installing to your selected disk.
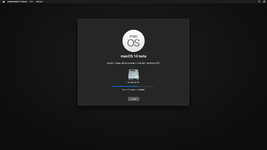
Here it ends the first phase of the installation and Your Mac will restart a couple of times.
The installer will continue the second phase of the installation. Upon completion, your Mac will automatically restart.

STEP 4: Finishing macOS Setup
After finishing the macOS installation, it's time to set up the macOS for the first usage with the newly installed macOS.
When you're at the welcome screen, continue with the basics options such as Keyboard setup, Network, Computer Account and Privacy settings.
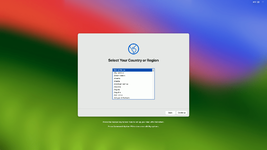
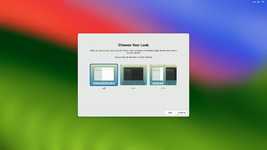
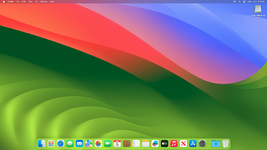
Now the installation is complete!
Enjoy macOS Sonoma on your Mac
The following is a guide for installing macOS Sonoma on your Mac. You can use this guide for a clean install of macOS Sonoma on your compatible Mac.

Clean install macOS Sonoma using Bootable USB Drive
Overview
Today, Apple announced their new macOS lineup i.e macOS Sonoma 14.0 which is Apple's newest and most awaited OS. Monterey added massive updates and improvements from its predecessor, Big Sur.
Packed with new features and functionality, the most noticeable update that can be seen and experienced is the new GUI. Featuring a much more "iOS" look and feel and is as smooth as butter.
Requirements
Before you start with this guide, here's are a few requirements
- A working Internet connection.
- A 16 GB or larger USB Flash Drive.
NOTE:
|
To start with the guide, you'll also need to have access to a fully functional computer running macOS Mojave or later. This requirement is must as you need to access to Mac App Store in order to download a copy of macOS and create an installation USB Flash Drive later on.
Compatibility
Before you proceed with a clean installation, we suggest you to check the compatibility of the Mac model.

macOS Sonoma (14.0) Compatibility - Will your Mac Support it?
macOS Sonoma (14.0) Compatibility List - Will Your Mac Support it? Today, at WWDC 2023, Apple announced their new macOS version i.e. macOS Sonoma (14). Whenever Apple releases a new version of its Operating System, one of the most common questions that arise is, “Will my Mac be compatible?”...
 elitemacx86.com
Installing macOS Sonoma on Mac
Now, you can start downloading files, creating a bootable USB, and doing a clean install. Follow the steps below to install macOS Ventura on your Mac.
STEP 1: Download macOS Sonoma and Create a Bootable USB
To download macOS Sonoma and create a Bootable USB, refer to the guide linked below.

GUIDE - How to Create macOS Sonoma Bootable USB
How to Create macOS Sonoma Bootable USB The following is a guide for creating macOS Sonoma Bootable USB. The installation has been covered in another section. You can use this USB for a clean install of macOS Sonoma on your compatible Mac. Before you start with this guide, here are a few...
 elitemacx86.com
STEP 2: Booting the macOS Installer
After preparing your installation USB, you're ready to install it on your target Mac
1. Start/Restart your Mac and while starting/restarting, hold down the option (⌥) key or Alt Key (if you're using a non-Apple Keyboard) on your Keyboard. If you're using an Apple Silicon Mac, press and hold the Power button on your Mac until the startup option appears. You'll see something like this below.

2. Select Install macOS 14 beta and click on Continue or you can press enter to boot and the installer will load in a while.


STEP 3: Installing macOS
When booted from the USB, you'll see something like below

Do not continue yet as we're performing a clean install, it would be best to erase the target disk on which you're going to install macOS Sonoma.
Quit Install macOS.

When the installer prompts, click on Quit and the installer will go back to Recovery Menu.

When at the Recovery Menu, select Disk Utility and click on Continue.

3. When at Disk Utility, Click on View, and then select Show all Devices.


4. Now select your Hard Drive or SSD on which you want to install macOS and use the following parameters to erase your drive.
Name: Macintosh HD
Format: APFS
Scheme: GUID Partition Map

4. Once the parameter is set, click on Erase button and you should see a prompt to erase your Mac.

Click on Erase Mac to continue erasing your Mac. When prompted, click on Erase Mac and Restart.

Your Mac will restart and boot back to Recovery to complete the Activation.


From the top right menu, click on the WiFi icon and connect to your WiFi Network. If you're having an Ethernet Connection, you can use it too. We're using WiFi as it's more convenient. When prompted, enter your network password and click on Join to connect to your WiFi Network.


Once the network is detected, your Mac will start the Activation.

Once activated, you'll see something like below.

From the Apple Menu>Click on Shut Down
Start/Restart your Mac and while starting/restarting, hold down the option (⌥) key or Alt Key (if you're using a non-Apple Keyboard) on your Keyboard. If you're using an Apple Silicon Mac, press and hold the Power button on your Mac until the startup option appears. You'll see something like this below. You'll notice that the Disk name no longer appears now as it's erased.

Select Install macOS 14 beta and click Continue. Alternatively, press enter to boot and the installer will load in a while.


1. When at the installation screen, select your preferred language and continue

The installation screen will appear automatically. Click on Continue and then continue with the options.


7. Now select Macintosh HD and click on Continue.

Now, macOS Sonoma will begin installing to your selected disk.

NOTES:
|
Here it ends the first phase of the installation and Your Mac will restart a couple of times.
The installer will continue the second phase of the installation. Upon completion, your Mac will automatically restart.

STEP 4: Finishing macOS Setup
After finishing the macOS installation, it's time to set up the macOS for the first usage with the newly installed macOS.
When you're at the welcome screen, continue with the basics options such as Keyboard setup, Network, Computer Account and Privacy settings.


Now the installation is complete!
Enjoy macOS Sonoma on your Mac

NOTES:
|
Last edited:
